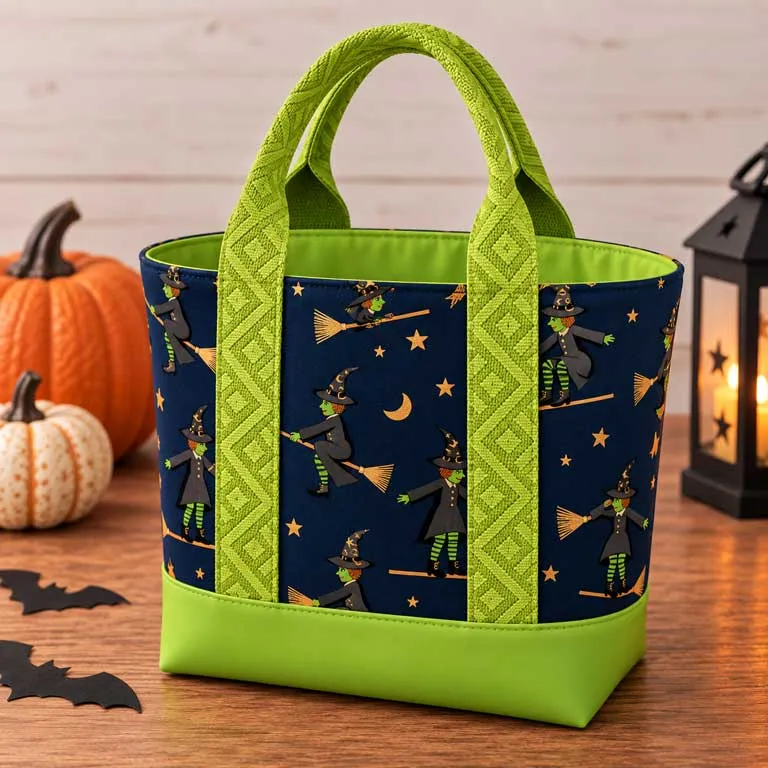
Prepare the Reinforced Base
Start with your 12” W × 4 ½” H piece of vinyl.
On the wrong side of the vinyl, draw a line ½” from each long edge.
Center the 11 ¼” W × 3 ½” H piece of Decovil Heavy between the two marked lines.
Apply double-sided tape along both long edges of the vinyl.
Fold the vinyl along the ½” marked lines and press firmly to secure the folded edges with the double-sided tape.
Your reinforced base is now ready to attach to the tote.
Optional: Add Purse Feet
If you’d like to add purse feet, this is the perfect time to install them.
Position and install four purse feet on the reinforced base before attaching it to the bag.
Purse feet are completely optional, but they add a beautiful finished detail while also helping keep the bottom of your tote protected when you set it down.
Attach the Reinforced Base to the MHS Mini Tote
Follow the MHS Mini Tote pattern through Step 11, stitching the Main Exterior Panels together along the bottom edge.
Before continuing to Step 12, add your prepared Exterior Base Reinforcement.
Use double-sided tape to position the reinforcement over the exterior base of the tote, making sure it is centered.
Once you’re happy with the placement, topstitch around all four edges of the reinforced base to secure it to the exterior.
That’s it!
Once the reinforced base is securely attached, continue with Step 12 of the MHS Mini Tote pattern and finish constructing your bag according to the pattern instructions.
A Small Modification with a Big Impact
This is one of those little bag-making modifications that can make a noticeable difference in the finished project.
The combination of vinyl and Decovil Heavy creates a sturdier bottom without adding unnecessary bulk or changing the overall look of the MHS Mini Tote. It also helps the finished bag hold its shape and stand nicely on its own.
And don’t save this technique just for your Mini Tote!
Once you understand how the reinforced base is constructed, you can adapt the same idea to other tote bags that need a little extra structure or protection along the bottom.
Make Your Own MHS Mini Tote
Ready to make one?
The MHS Mini Tote is a fun, versatile project that’s perfect for showing off your favorite fabrics, vinyls, faux leathers and webbing.
Purchase the MHS Mini Tote pattern and then make it completely your own by mixing and matching your favorite materials.